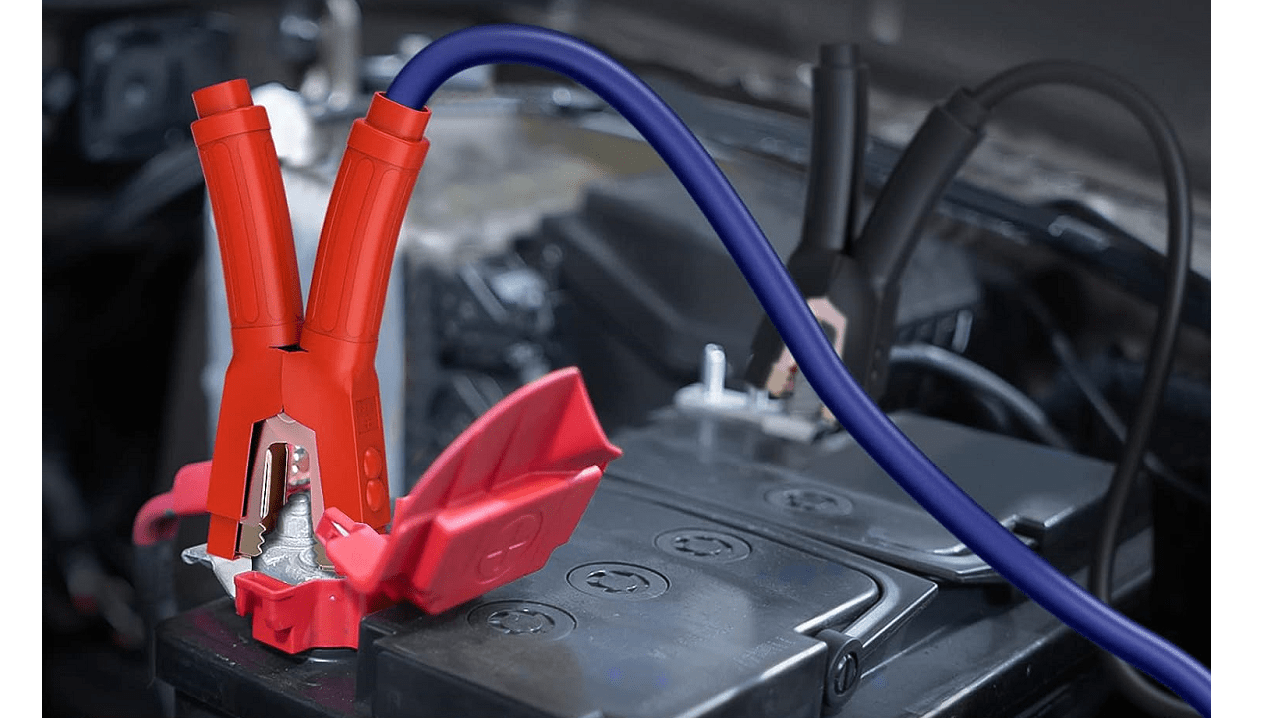
Jumpstarting Your Car: A Step-by-Step Guide to Getting Back on the Road
Last Edited: Aug 27, 2023
Popularity: 546 views
Popularity: 546 views
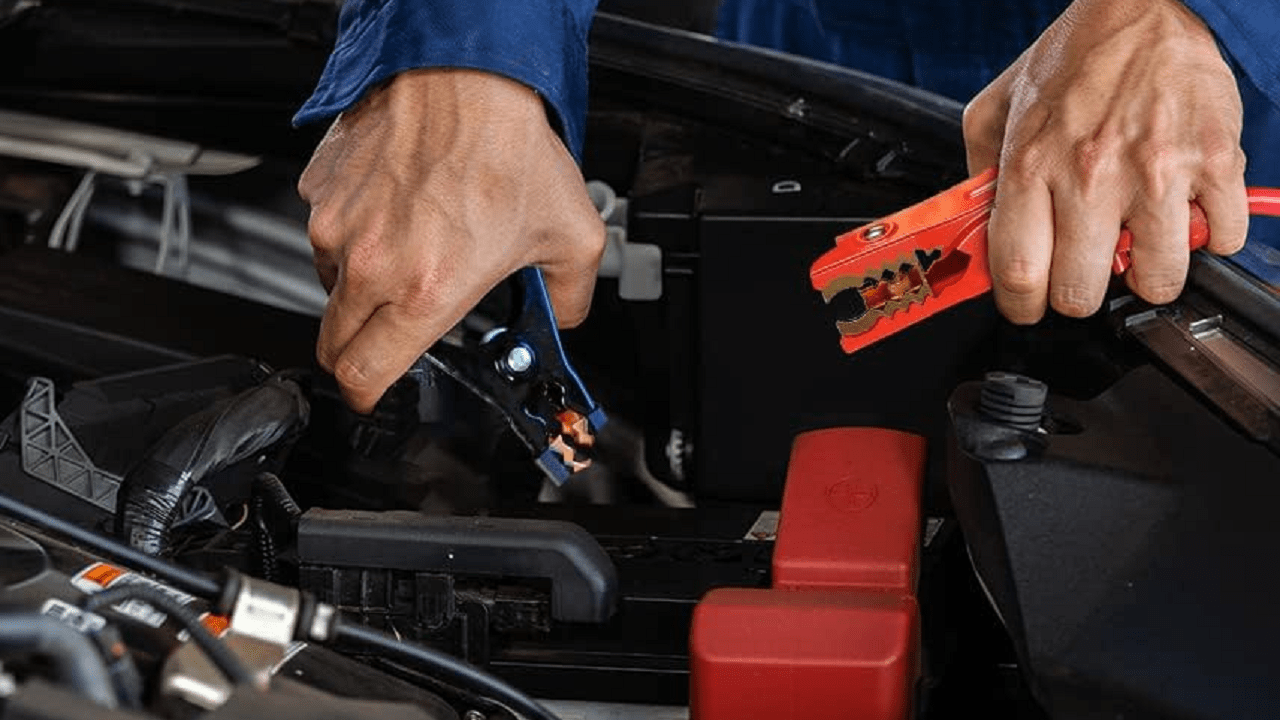
Experiencing a dead battery is a common inconvenience that can leave you stranded when you least expect it. Knowing how to jumpstart your car is a valuable skill that can help you quickly get back on the road. Whether you left your lights on or your battery has aged, a jumpstart can provide the necessary power to start your vehicle. In this article, we will provide you with a clear and concise step-by-step guide to safely jumpstarting your car.
Tools You'll Need
Before we delve into the procedure, gather the necessary tools and materials:
1. Jumper Cables: Make sure you have a set of good-quality jumper cables that are long enough to reach between vehicles.
2. A Second Vehicle: You'll need another vehicle with a working battery to provide the jumpstart.
3. Safety Gear: Keep safety gloves and goggles handy to protect yourself from potential sparks.
Step-by-Step Guide to Jumpstarting Your Car
1. Position the Vehicles:
Park the working vehicle close to the vehicle with the dead battery, ensuring that both vehicles are in park (or neutral for manual transmissions) and their ignition switches are off.
2. Open Hoods:
Open the hoods of both vehicles and locate their batteries. Identify the positive (+) and negative (-) terminals on each battery. These are usually labeled or color-coded (red for positive, black for negative).
3. Connect Jumper Cables:
Follow these steps to connect the jumper cables:
a. Connect Positive Clamps: Attach one of the red (positive) clamps to the positive terminal of the dead battery.
b. Attach the Other Positive Clamp: Connect the other red (positive) clamp to the positive terminal of the working battery.
c. Connect Negative Clamp: Attach one of the black (negative) clamps to the negative terminal of the working battery.
d. Ground the Other Negative Clamp: Instead of connecting the other black (negative) clamp to the dead battery's negative terminal, attach it to an unpainted metal surface on the engine block or vehicle frame of the stalled car. This avoids potential sparks near the battery, which could cause an explosion.
4. Start the Working Vehicle:
Start the vehicle with the working battery and let it run for a few minutes to charge the dead battery.
5. Attempt to Start the Stalled Vehicle:
Try to start the vehicle with the dead battery. If it starts successfully, let both vehicles run for a few more minutes to ensure the dead battery is charged.
6. Disconnect the Jumper Cables:
When you're ready to disconnect the jumper cables, follow these steps in reverse order:
a. Remove Negative Clamp: Remove the black (negative) clamp from the unpainted metal surface on the stalled car.
b. Detach Negative Clamp: Remove the black (negative) clamp from the working battery's negative terminal.
c. Remove Positive Clamp: Take off the red (positive) clamp from the working battery's positive terminal.
d. Detach the Other Positive Clamp: Remove the red (positive) clamp from the dead battery's positive terminal.
7. Keep Both Vehicles Running:
To ensure the dead battery has a chance to recharge, let both vehicles run for around 10-15 minutes.
8. Turn Off the Stalled Vehicle:
Turn off the ignition of the vehicle that was initially stalled.
9. Test Your Vehicle:
Try starting your vehicle again. If it starts without any issues, you have successfully jumpstarted your car.
Knowing how to jumpstart your car can save you from being stranded and provide a quick solution to a dead battery. By following the steps outlined in this guide, you can safely and effectively jumpstart your vehicle and get back on the road. Remember to prioritize safety by wearing gloves and goggles and connecting the jumper cables in the correct order to prevent sparks.
While jumpstarting can be a temporary fix, consider that a dead battery might be a sign of an underlying issue. If your battery consistently dies or if you're uncertain about the cause, it's recommended to have your vehicle inspected by a professional mechanic to ensure its overall health and prevent future breakdowns.