A Step-by-Step Guide to Checking Your Tire Pressure
Last Edited: Aug 27, 2023
Popularity: 399 views
Popularity: 399 views
Maintaining proper tire pressure is essential for both your safety and the longevity of your vehicle. Underinflated or overinflated tires can lead to decreased fuel efficiency, uneven tire wear, and compromised handling. Fortunately, checking your tire pressure is a straightforward task that you can perform on your own with minimal effort. In this article, we will provide you with a step-by-step guide to effectively checking your tire pressure and ensuring your vehicle's optimal performance.
Why Checking Tire Pressure Matters
Correct tire pressure ensures that your tires make proper contact with the road, providing the best traction, stability, and handling. Improper tire pressure can lead to:
1. Decreased Fuel Efficiency: Underinflated tires create more rolling resistance, causing your vehicle's engine to work harder and consume more fuel.
2. Uneven Tire Wear: Overinflated or underinflated tires can wear out unevenly, leading to premature tire replacement and higher costs.
3. Reduced Handling: Incorrect tire pressure can negatively impact your vehicle's steering response, especially in emergency situations.
4. Risk of Blowouts: Overinflated tires are at a higher risk of bursting, particularly when subjected to sudden impacts or heat.
Step-by-Step Guide to Checking Tire Pressure
1. Gather the Necessary Tools:
Before you begin, ensure you have a few essential tools on hand: a tire pressure gauge and, if needed, an air compressor.
2. Find the Recommended Pressure:
Check your vehicle's owner's manual or the placard located on the driver's side door jamb or inside the fuel filler door. This placard provides the manufacturer's recommended tire pressure for your vehicle. The pressure is typically given in psi (pounds per square inch).
3. Check Tire Pressure When Cold:
Tire pressure increases as tires heat up during driving. To get an accurate reading, it's best to check your tire pressure when the tires are cold, meaning the vehicle has been stationary for at least a few hours.
4. Remove Valve Cap:
Unscrew the valve cap from the valve stem of the tire.
5. Attach the Tire Pressure Gauge:
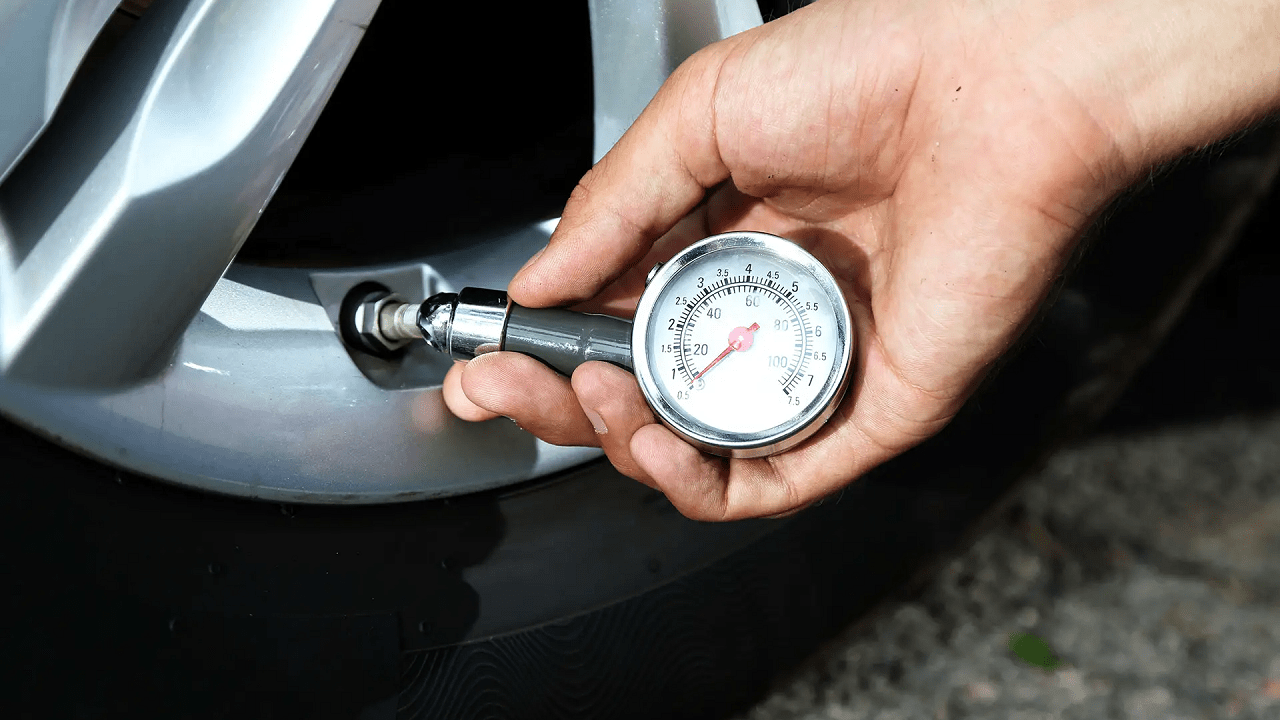
Press the tire pressure gauge onto the valve stem firmly and hold it in place to ensure there's no air leakage.
6. Read the Pressure:
The gauge will display the current pressure in the tire. Compare this reading to the recommended pressure you found earlier. If the reading is lower, you'll need to add air, and if it's higher, you might need to release some air.
7. Inflate or Deflate:
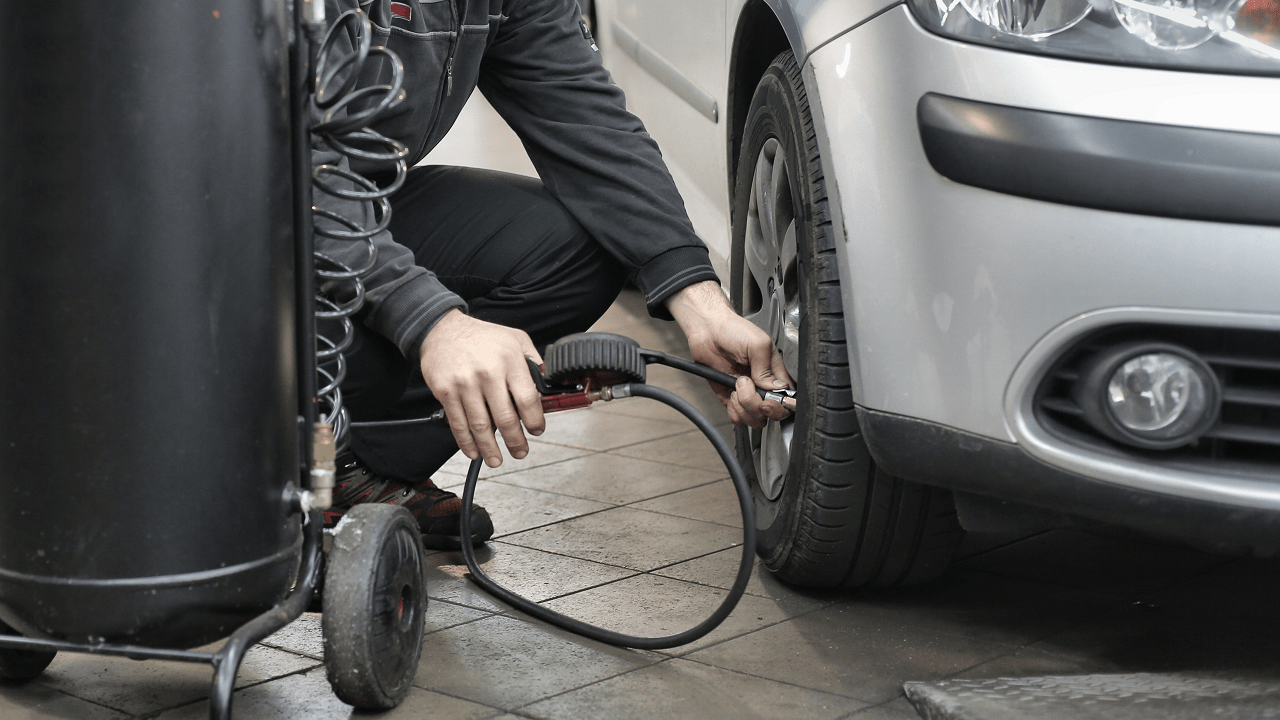
If the pressure is too low, use an air compressor to add air to the tire. If the pressure is too high, carefully use the gauge's pressure release valve to let out some air until you reach the recommended pressure.
8. Recheck Pressure:
After inflating or deflating the tire, recheck the pressure using the gauge to ensure it matches the recommended pressure.
9. Repeat for All Tires:
Repeat steps 3 to 8 for all four tires, as the pressure may vary between them.
10. Replace Valve Caps:
Once you've checked and adjusted the pressure for all tires, screw the valve caps back on to protect the valve stems from dirt and debris.
Regularly checking your tire pressure is a simple yet vital task that contributes to your vehicle's safety, efficiency, and overall performance. By following the step-by-step guide outlined above, you can easily monitor and maintain proper tire pressure, leading to improved fuel economy, even tire wear, and enhanced handling.
Remember that checking your tire pressure should become a routine part of your vehicle maintenance. Aim to check your tire pressure at least once a month and before long trips. With just a few minutes of your time, you can ensure that your tires are operating at their best, promoting your safety and peace of mind on the road.