
A Step-by-Step Guide to Changing a Flat Tire
Last Edited: Aug 29, 2023
Popularity: 2,131 views
Popularity: 2,131 views
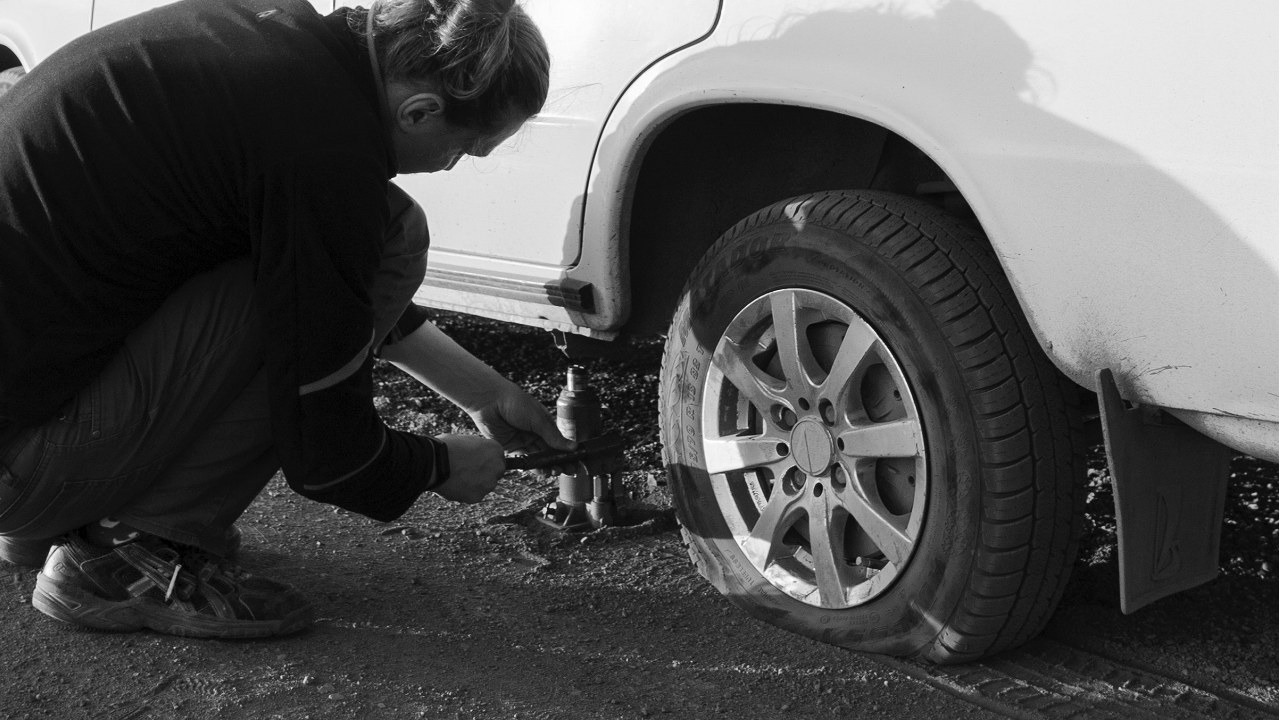
Dealing with a flat tire is an inevitable part of being a driver. Knowing how to change a flat tire is a valuable skill that can save you time and money, as well as keep you safe on the road. Whether you're on a remote road or in the middle of a busy city, having the confidence to handle a flat tire can make a significant difference. In this article, we'll provide you with a comprehensive step-by-step guide on how to change a flat tire safely and efficiently.
1. Find a Safe Location:
If you notice a flat tire while driving, safely navigate your vehicle to the nearest flat, stable, and safe location away from traffic. Pull onto the shoulder of the road, a parking lot, or an empty space if possible. Engage your hazard lights to alert other drivers.
2. Gather Necessary Tools:
Before you start changing the tire, ensure you have the required tools and materials:
• Spare tire
• Jack
• Lug wrench
• Vehicle owner's manual
• Wheel wedges (if available)
3. Apply Parking Brake:
Engage the parking brake to prevent the vehicle from rolling while you're changing the tire.
4. Loosen Lug Nuts:
Use the lug wrench to slightly loosen the lug nuts on the flat tire. Do not remove them completely at this stage, just break their initial resistance.
5. Position the Jack:
Consult your owner's manual to identify the correct lifting points for the jack. Position the jack under the frame of the vehicle near the flat tire. Ensure the jack is stable and on a flat surface.
6. Lift the Vehicle:
Slowly and steadily pump the jack handle to lift the vehicle off the ground. Raise it enough to provide clearance for the flat tire to be removed and the spare tire to be installed.
7. Remove Lug Nuts and Flat Tire:
Completely remove the loosened lug nuts and carefully take off the flat tire. Place the lug nuts in a safe spot to prevent them from getting lost.
8. Mount the Spare Tire:
Lift the spare tire onto the wheel hub and align it with the lug nut posts. Push the spare tire onto the hub until it's snug against the hub.
9. Hand-Tighten Lug Nuts:
Thread the lug nuts onto the posts by hand in a diagonal sequence to ensure even distribution of pressure. Tighten them as much as possible without using the wrench.
10. Lower the Vehicle:
Carefully lower the vehicle by reversing the process you used to lift it with the jack. Ensure the vehicle is fully stable before proceeding.
11. Tighten Lug Nuts Further:
Once the vehicle is on the ground, use the lug wrench to tighten the lug nuts as much as possible in a diagonal sequence. This will help prevent the spare tire from coming loose while driving.
12. Lower the Jack:
Completely lower the jack and remove it from under the vehicle.
13. Double-Check Lug Nuts:
Give the lug nuts a final tightening using the lug wrench. Ensure they are securely fastened.
14. Stow Tools and Flat Tire:
Place the flat tire, jack, lug wrench, and any other tools back in the vehicle. Make sure you haven't left anything behind.
15. Check Spare Tire Pressure:
Before driving, check the air pressure of the spare tire to ensure it's safe for driving. Consult your owner's manual for the recommended pressure.
16. Get the Flat Tire Repaired:
A spare tire is intended for temporary use only. Visit a tire repair shop at your earliest convenience to repair or replace the flat tire.
Changing a flat tire might seem daunting, but with the right tools and a clear understanding of the process, it's a manageable task. By following the step-by-step guide outlined above, you can confidently tackle a flat tire situation and get back on the road in no time. Remember to prioritize safety, always adhere to your vehicle's owner's manual instructions, and take the necessary precautions to ensure a smooth and secure tire change experience.